Container Gardening: How to plant up a pot
Whether you’re just repotting one plant or planning a wildly elaborate container display, you’ll need the 101 on how to plant up a pot. Here's everything you need to know.
When to plant up a pot
From fruit and veg to vibrant herbaceous perennials and alluring annual displays, container gardening is a sure-fire way to liven up a balcony, makeover your front door, or create patio perfection.
The best time to plant up a pot depends on what you want to put in it. Newly-potted outdoor plants need a bit of time to put down roots.
Planting permanent plants
If you’re transferring a plant to a new, permanent home, it’s best to pot it up in early spring, as it’ll settle in and grow more quickly. But if you miss the boat (hey, we’ve all been there) - don’t panic. Planting it any time between spring and early autumn is still going to be better than nothing. Plants potted up in late autumn or winter will take *way* more time to find their feet.
Potting up a seasonal display
If you’ve got a bunch of summer-flowering annuals for a seasonal display, it’s best to get them into a new container around May, when the risk of frost has passed.
Planting specifically for winter interest? Get those plants in pots in late summer or early autumn.
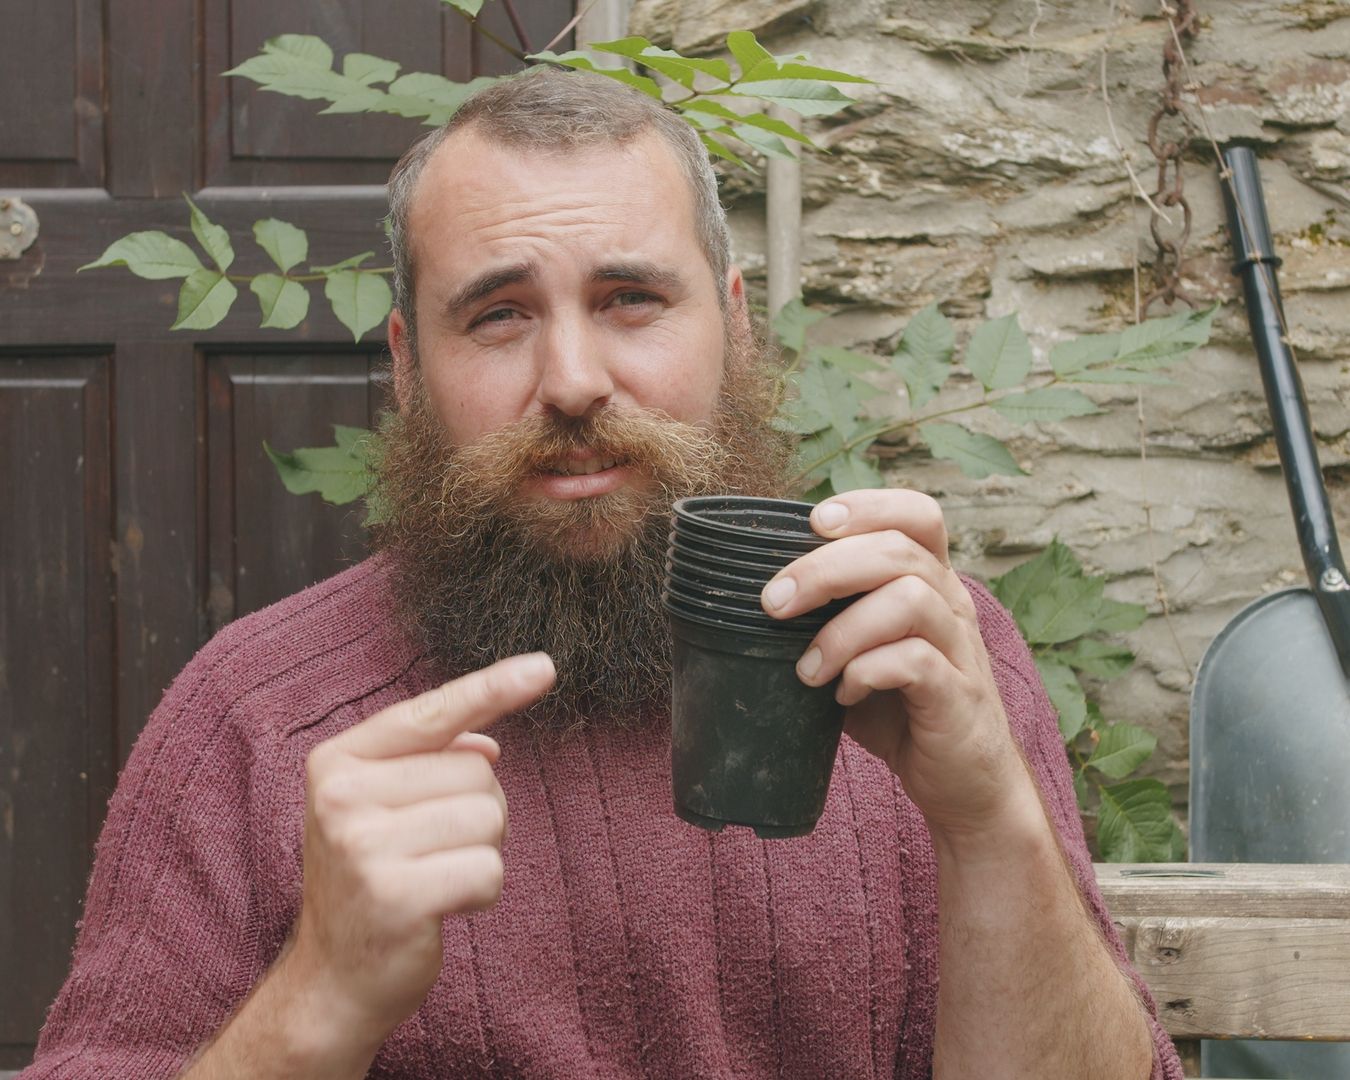
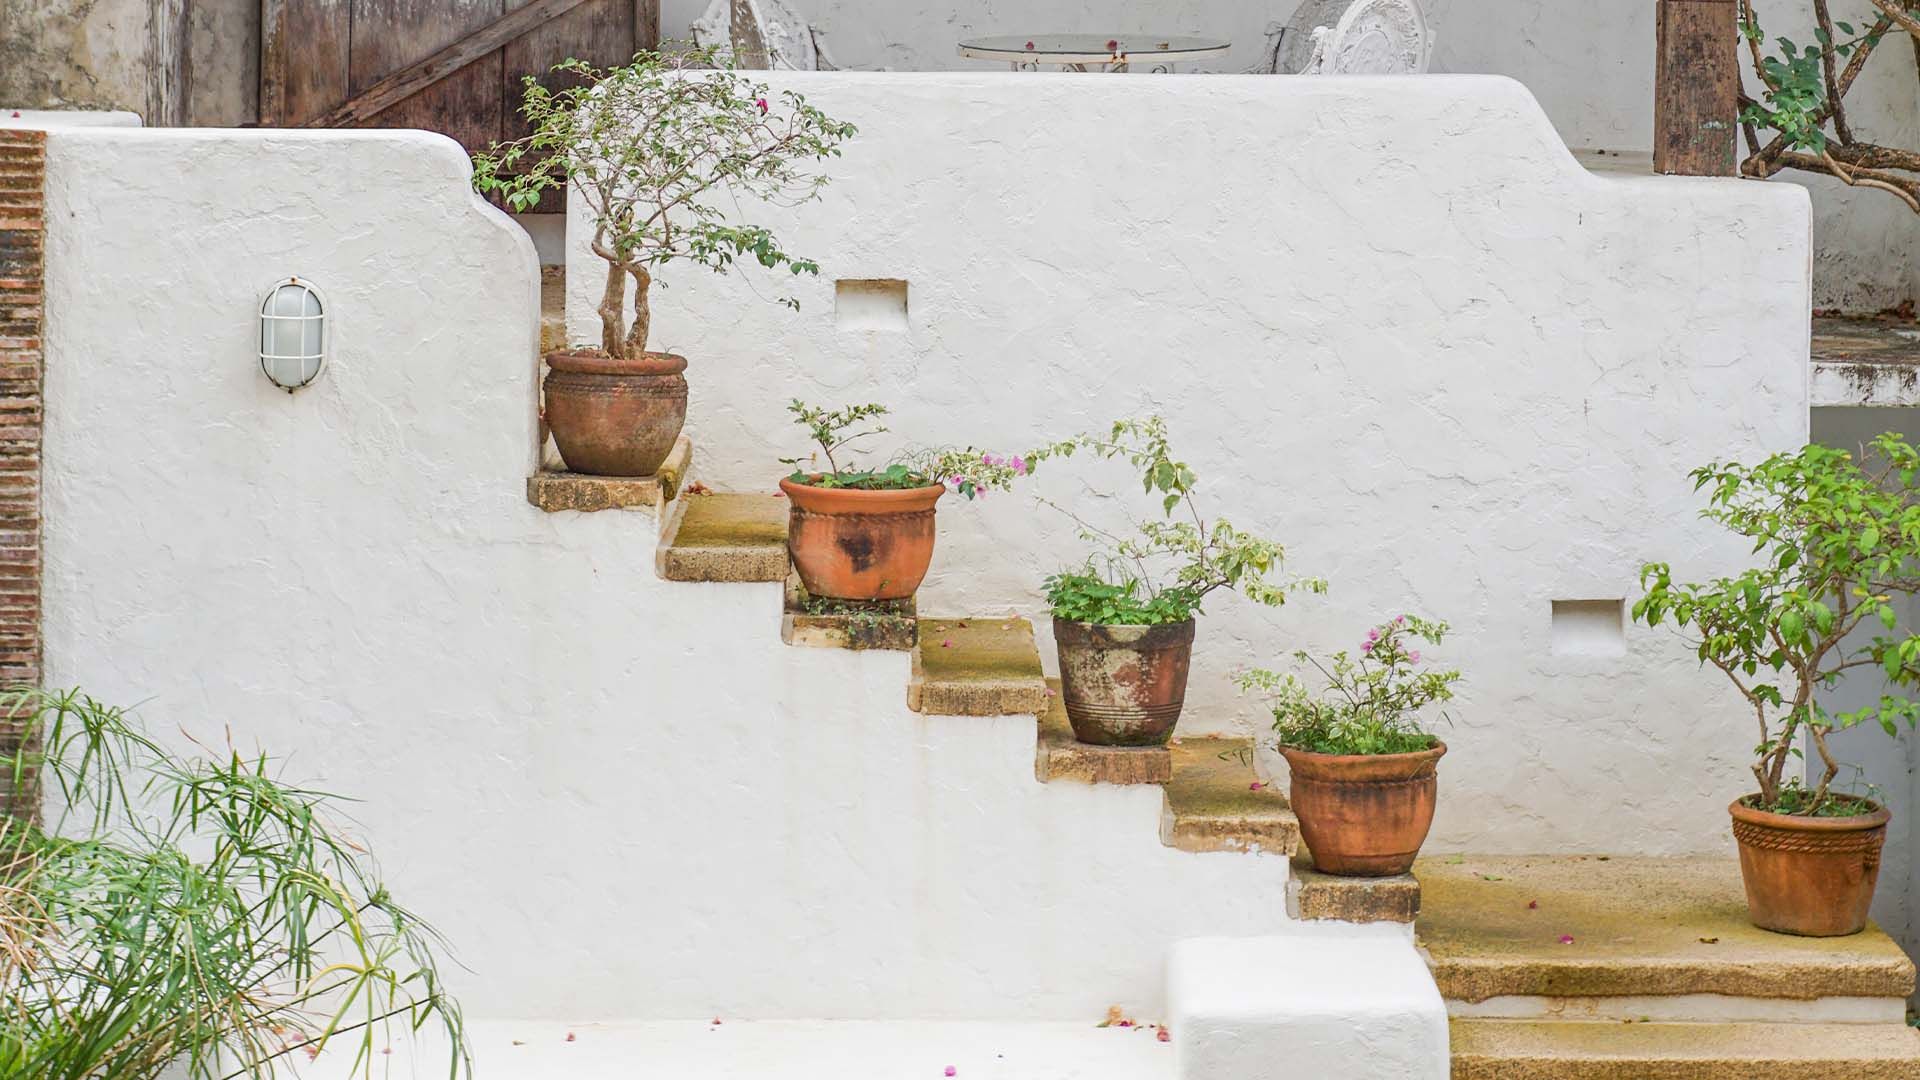
Choosing the right pot
There are roughly a bazillion outdoor containers to choose from, so here are a few pointers on selecting the perfect pad for your plant.
- Frostproof and fabulous. If your plant is going to be outside all year, go for a frost-proof pot. This could be made from classic terracotta, plastic or even lightweight fibreglass.
- Find the perfect fit. For individual plants, going up one pot size at a time is usually a safe bet. Larger shrubs and trees will need plenty of space for their rootballs. Small plants don’t cope well in big pots so, to save them drowning in a sea of waterlogged soil, fill the space with other leafy pals to create a show-stopping container display.
- No drain, no gain. Your pot needs to have drainage holes in the bottom so your plant isn’t sitting in water. Get the drill out and add a few if needed.
- Group to prevent droop. Plants in small pots dry out more quickly. Planting more than one thing in a larger pot means you’ll have to water less often.
- Strut your style. Traditional looking outdoor pots are great for cottage gardens, whereas contemporary containers will suit a more modern set-up.
Choosing the right compost
While it may seem silly buying potting compost, it’s best to avoid potting up plants in topsoil or homemade compost from your garden. These can harbour nasty pests and diseases that could do more harm than good to your precious pot plants.
For annual plants or short-term displays, it’s best to buy peat-free multipurpose compost.
For plants you’re putting into a permanent home, go for potting soil such as John Innes No. 3.
If your plant hates lime or needs acidic soil to thrive (we’re looking at you, rhododendrons, camellias and heathers), you’ll need to use an ericaceous potting mix.
If your plant hates sitting in damp compost, add a few handfuls of grit, sand or perlite to the mix to improve drainage.
How to plant up a container
You’ve got your plant, your pot and your compost. So what do you do with them all?
- If your pot has a large drainage hole, add a few stones or bits of broken ceramic (aka crocks) to the bottom to stop the compost washing out and prevent frost damage.
- Add your compost to the container, filling it half to two-thirds of the way up, leaving room for your plant.
- Remove your plant from its pot and gently tease out the roots. Place it in the new pot and pack fresh compost around it until it’s level with the top of the rootball. Make sure the surface of the compost is a touch lower than the rim of the pot, so that water can soak in without spilling over the sides.
- Firm the compost around your plant and use a watering can to give it a good soak. If the surface gets lower after watering, top it up with more compost.
- Check whether your plant will thrive best in sun or shade and move your pot to a spot that’ll deliver. If need be, raise it slightly off the ground to help water run free.
TOP TIP: If you’re adding more than one plant to the pot, arrange them all in the container first, before adding compost to the top and firming them in.
Container plant care
Whether you’ve planted up a patio pot, window box, hanging basket or a trough, there are some easy ways to keep your planters looking tip-top.
- Moisture patrol. Plants in pots tend to dry out quicker than plants in the ground. Keep an eye on the compost and water them when they need a drink. Throughout the summer, this might mean reaching for the watering can every day or setting up an automatic watering system. In winter, watering duty happens a lot less often.
- Feed to flourish. From mid-spring to late summer give your pot plants a general-purpose liquid feed every so often to keep them looking fancy.
- Snips at the ready. Regular deadheading (removing spent flowers) will keep blooms coming for longer.
- Winter wardrobe. Move tender pot plants undercover before the first frosts or cover them in fleece or - height of fashion - bubblewrap to see them through to spring.